Easter Fun!
Easter fun dying eggs, making baskets, and Easter crafts.
As kids get older you sometimes have to still make things fun, especially at family get togethers. But come to find out the adults enjoy these things just as much as the kids if not more.
And as life has it kids do have to grow up. They move out, start families of their own, and sometimes even start traditions of their own.
Me, I’m always a kid at heart, so dying Easter eggs, or making Easter baskets is still a big thing around here.
Below are some fun things that we have come up with over the years so we hope you enjoy these Easter fun ideas.
Easter Eggs
Easter eggs when we were kids were died with little color pellets and vinegar that you would buy at the grocery store in kits.
We used to also do shrink wraps where you would have a colorful plastic wrap and you’d put it around the egg, then put it in hot water and watch the wrap shrink right around the egg.
New things came out every year. There were kits where you could do Tie Die eggs or glitter eggs and you would have a little container you would put your egg in put the colors or sprinkles you wanted and then just started shaking until you go the desired color.
There were kits that came with clear wax sticks so you could write messages on the eggs and when you put them in the color the message would appear.
Funny thing is we were writing on our eggs with white crayons before they even put them in the kits. My mom taught us that.
Nowadays more Easter egg “hacks” are found everywhere. And I have to say it’s been fun finding new ways to die easter eggs, and cheaper if I might say.
Especially when you don’t want to pay for those pricy East egg kits. These “hacks” you can use with just about anything you have in the house.

Tie Die Easter eggs.
What you will need
- Paper towels
- Paper plates
- Rubber gloves
- or if you do not have rubber gloves on hand plastic sandwich bags work well (preferably not the Ziploc kind but actual sandwich bags. you know the ones you have to fold to close)
- Vinegar
- Food coloring
- Egg carton or something to hold the eggs so they can dry.
- Newspaper/black trash bags/plastic table cover
Directions
- Cover table or workspace with newspaper/black trash bag/plastic table cover.
- Put on rubber gloves
- Get your paper plate and paper towel ready
- Pour vinegar into a coffee mug or a cup the same size as a coffee mug and fill about half. (
do not dilute with water) - Pick the colors you wish to color your egg with.
- Dip your paper towel in the cup of vinegar and soak.
- Ring out vinegar, open paper towel and lay flat on paper plate
- Start dripping your color in the center of the paper towel using one color multiple times and then a second color. And so on and so forth.
- do not soak the towel with color, you want just enough drops of each color so not to blend them and create the color black in the end.
- Grab your egg and place it in the middle of your colored paper towel.
- Wrap your egg with the towel and start rubbing it in your hands using a circular motion.
- Continue doing this until your towel starts to turn color.
- Check your egg periodically, if you have not reached your desired look, wrap back up and continue rubbing until you have reached your desired look.
- Once you have reached your desired color, take out your egg and place it in egg carton to dry.
- Throw away your paper towel and start over again.
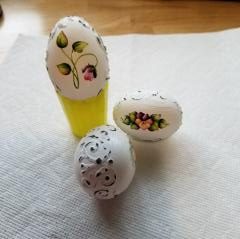
Vintage Easter Eggs
Created by; Bea Cook (Trista’s mother)
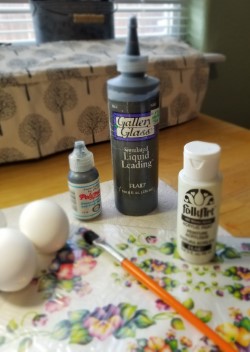
SUPPLIES:
Empty, washed and dried egg(s).
Simulated Liquid Leading or Black Fabric Puff Paint
White Acrylic Craft Paint
Small Flat Paint Brush
Fine Grit Sandpaper
Decal of choice
DIRECTIONS:
- Blow out and rinse egg. Let dry overnight.
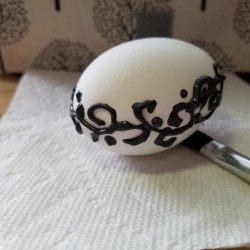
- Using Simulated Liquid Leading or Fabric Puff Paint, draw a decorative band around the egg, making sure to cover the holes on both ends. You can lightly trace a pattern with a pencil or free hand. Let dry overnight.
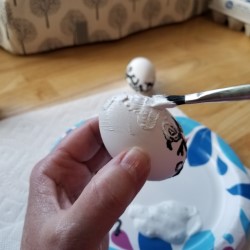
- Coat the entire egg in a layer of white acrylic craft paint. Let dry.
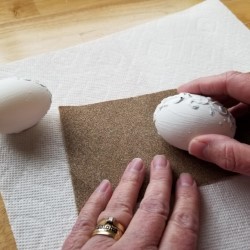
- With sandpaper laying on table, LIGHTLY sand only the decorative border to expose some areas and give it that antique look.
- Dust and rub egg with a soft cloth.
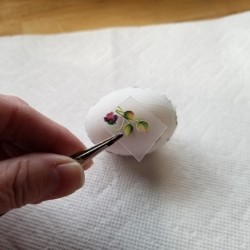
- Center and place on your desired decal, or hand paint a picture of your liking.
Easter Baskets
Easter Baskets have been in my family for years. My mom would always make sure no matter who was visiting for the holiday that everybody still got an Easter basket.
To this day each grandchild (just 3 of them) and spouses of her children, even her oldest grand daughter’s boyfriend still get Easter basket. And of course, I too must do an Easter basket for our daughter Jordyn’s boyfriend as well now.
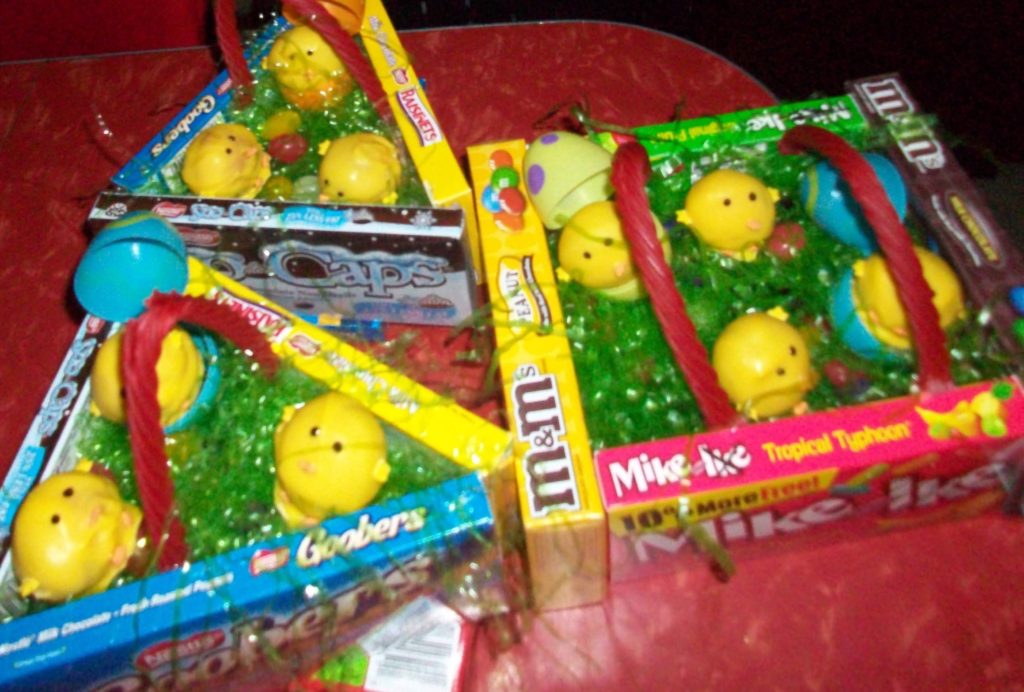
One year for Easter dinner there were just too many of us to do individual baskets for everybody. So, I put on my creative thinking cap and found this cute Idea and just went with it.
I hope you enjoy these cute baskets as much as our family did. They sure were SWEET!
Easter Candy Baskets
Cake Pops to use: Easter cake pops.
Recipe to use:
What you will need for East Baskets
- 4-5 Candy boxes (per basket)
- Twizzlers Ropes or Red Vines
- Easter Grass
- Easter Candy
- Easter cake pops
- Hot glue gun and glue sticks
Directions
- Decide what shape of Easter basket you want
- I enjoy the square shape more as it holds a lot more for treats and small gifts.
- You will need 5 candy boxes for a square basket
- 4 candy boxes for triangle basket
- Start with the bottom candy box and lay flat down
- Put a line of hot glue on the side of the box and add your other 4 boxes to each side standing them up to form a wall
- Take a Twizzler Rope/Red Vine bend into a rainbow shape and glue to the insides of the candy boxes. You want to make sure you do this on the sides that are shorter (the width sides not length)
- You should now have a basket
- Now fill the basket with Easter grass, candy, treats, small gifts or Easter cake pops.
Easter Decorations
Holiday decorations are always big in my family. My mom would have decorations for every holiday imaginable and ever since I had my own place, I too started collecting holiday decorations. Below are some inexpensive quick and easy Easter decorations, to brighten up your house for the holidays.
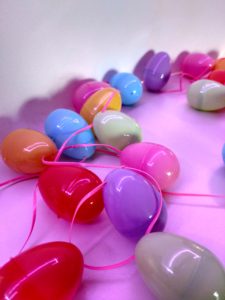
Easter Egg Lighted Garland
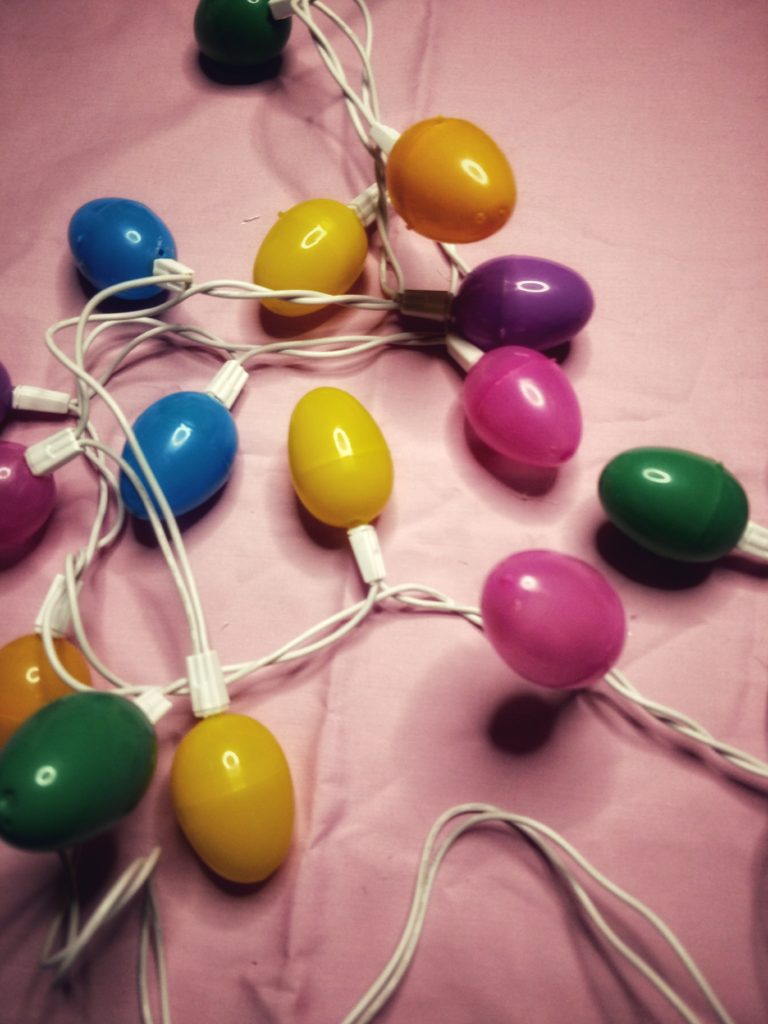
A colorful holiday decoration to bring some Spring to your house just in time for Easter.
What you will need
- White string lights (The Christmas lights work the best)
- Plastic Easter eggs
Directions
Punch/drill a hole in the egg large enough to fit over the light bulb on the string lights. If your hole is too big you can always use a small amount of hot glue to seal the egg over the bulb.
Hang your Easter egg garland and plug in.
*You can also make egg garland using string or ribbon instead of lights as an alternative*
Easter Egg Candles
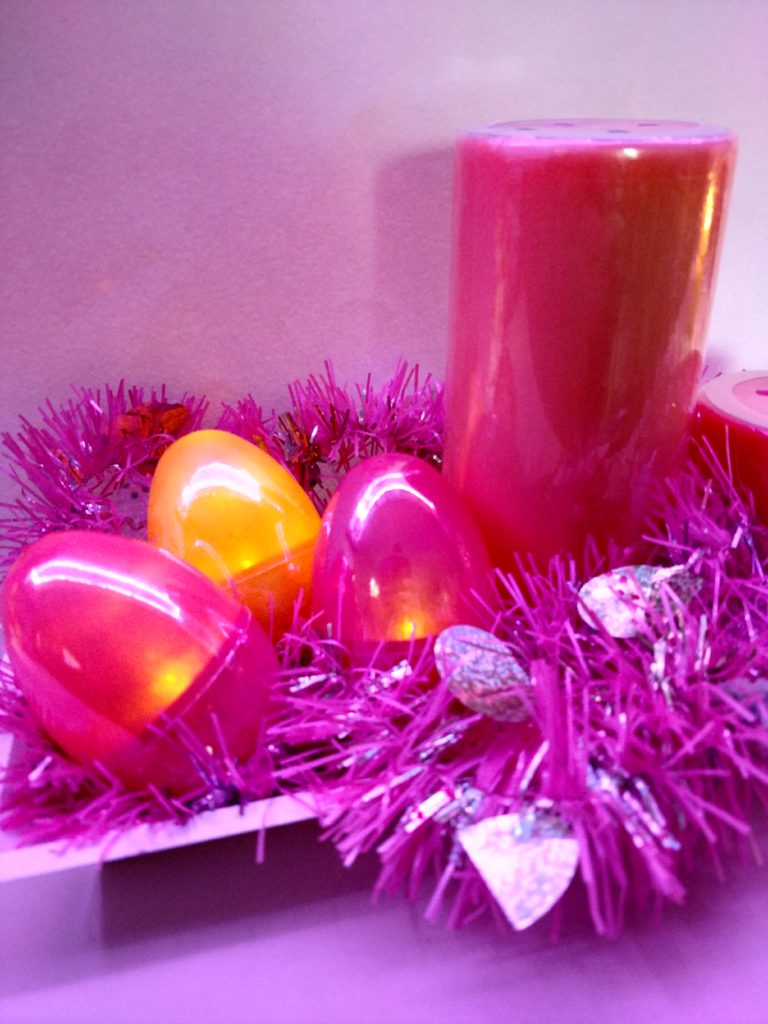
This is a simple idea to add to a centerpiece for your easter dinner or just around the house for decorations.
What you will need
Directions
Place teal light inside plastic Easter egg and enjoy the glow with your Easter centerpiece or just around the house for a nice ambiance.
Easter Egg Centerpieces/Decorations.
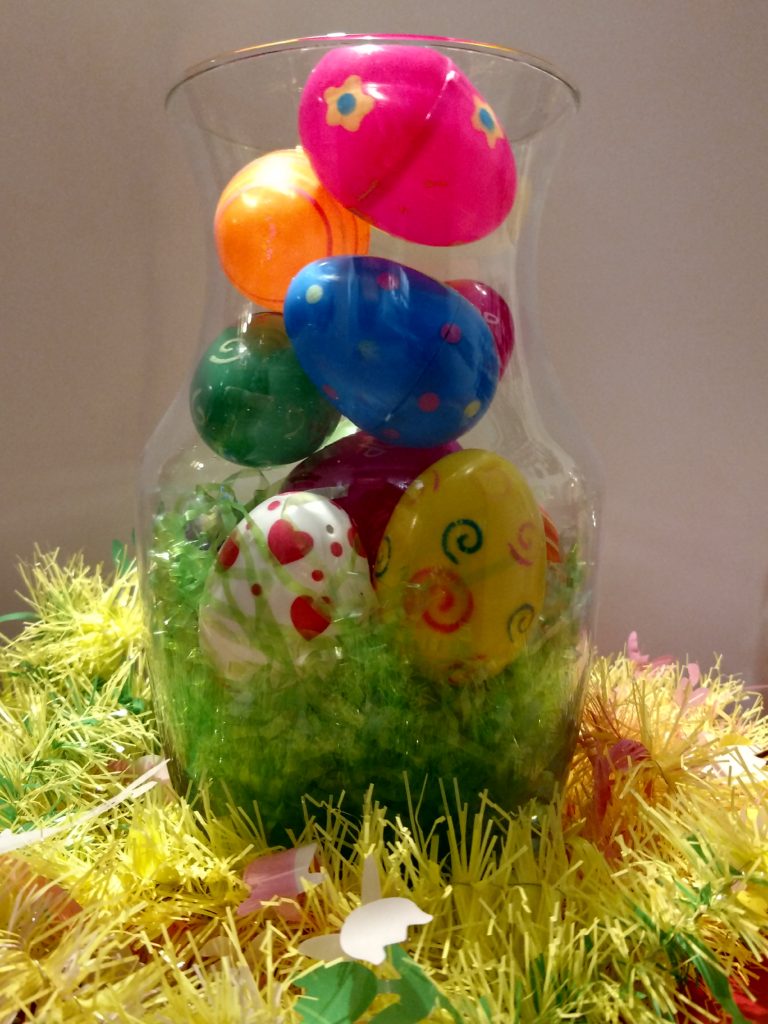
Do you have some random vases collecting dust? Have no fear, I have an egg-cellent idea for you.
What you will need
- Glass vase any size
- Easter Grass or raffia
- Plastic Easter eggs
Directions
Clean vase with soap and water or Windex and dry completely. Add Easter grass or raffia, and place Easter eggs randomly on top of grass or raffia.
For some extra ambiance add a few Easter egg candles.
Bunny Peeps Vase
Created by: Bea Cook (Trista’s mother)
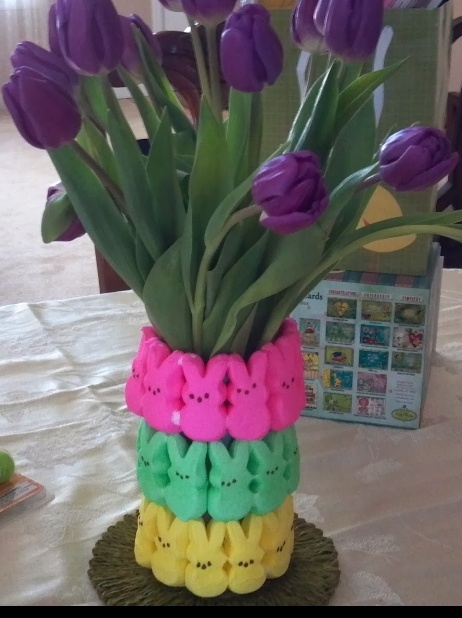
Everybody loves Peeps. Whether you are a fan of the marshmallow treat or enjoy blowing them up in the microwave, everybody loves Peeps. This vase was actually thought up by my mom, who also did a guest post for St. Patrick’s Day on Corned Beef and Cabbage.
In this picture real marshmallow peeps were used which is great for a center piece if you are only wanting to use it on Easter day.
What you will need
- Inexpensive glass vase (or a vase you are willing to part with after the day is over)
- You can also use a hard plastic vase if one is found that can withstand heat from a hot glue gun.
- Hot glue gun and glue sticks
- Bunny Peeps
Directions
Cleanse vase with soap and water or Windex. Let dry completely. Open and lay out your Bunny Peeps. Apply each bunny in rows on the vase with hot glue.
Place in center of table and enjoy.
*This centerpiece is for decoration only and not edible. *
Note: If you are looking to make this centerpiece part of your annual Easter decorations, there are Bunny Peeps on Amazon that are wooden and can be used in the same fashion. Click on the picture below to purchase.
This post contains affiliate links. As an Amazon Associate we earn from qualifying purchases at no additional cost to you. Find our full disclosure here.
We can’t thank you enough for your support in making our dreams come true and allowing us to share our adventures, recipes, and stories with you all!
Our Venmo Donate is not only a great way to support us for some server time so we can continue to provide you with content; but a way you can come with us for tours, happy hour drinks and on ghost adventures.
